Glass Air Fryer Maintenance Guide: How to Keep Your Non-Toxic Air Fryer Running Perfectly
How do you maintain a glass air fryer in Australia? To maintain a glass air fryer, clean the borosilicate glass chamber daily with mild soap, inspect vents and heating elements weekly, and sanitize monthly with vinegar. In Australia, the UK, and Canada, following these steps keeps your air fryer safe, efficient, and long-lasting—ensuring chemical-free, non-toxic cooking.
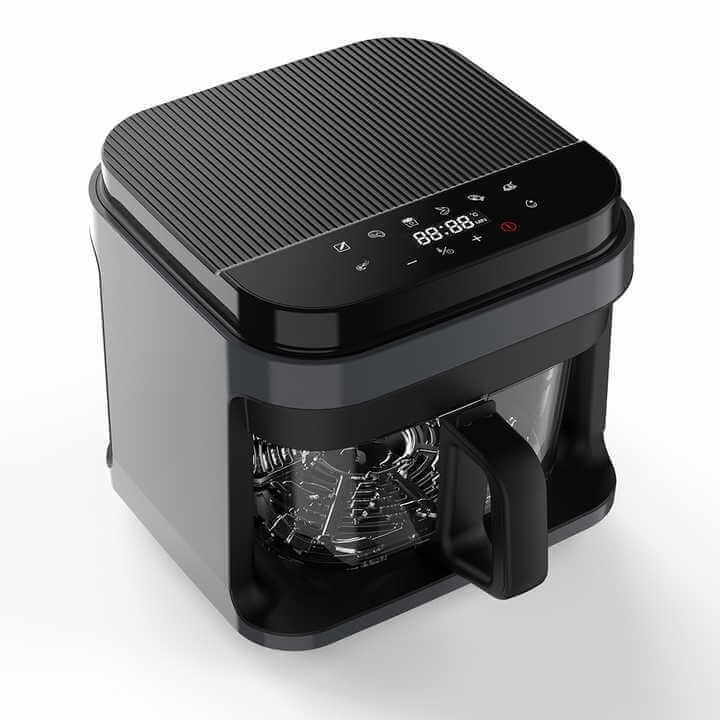
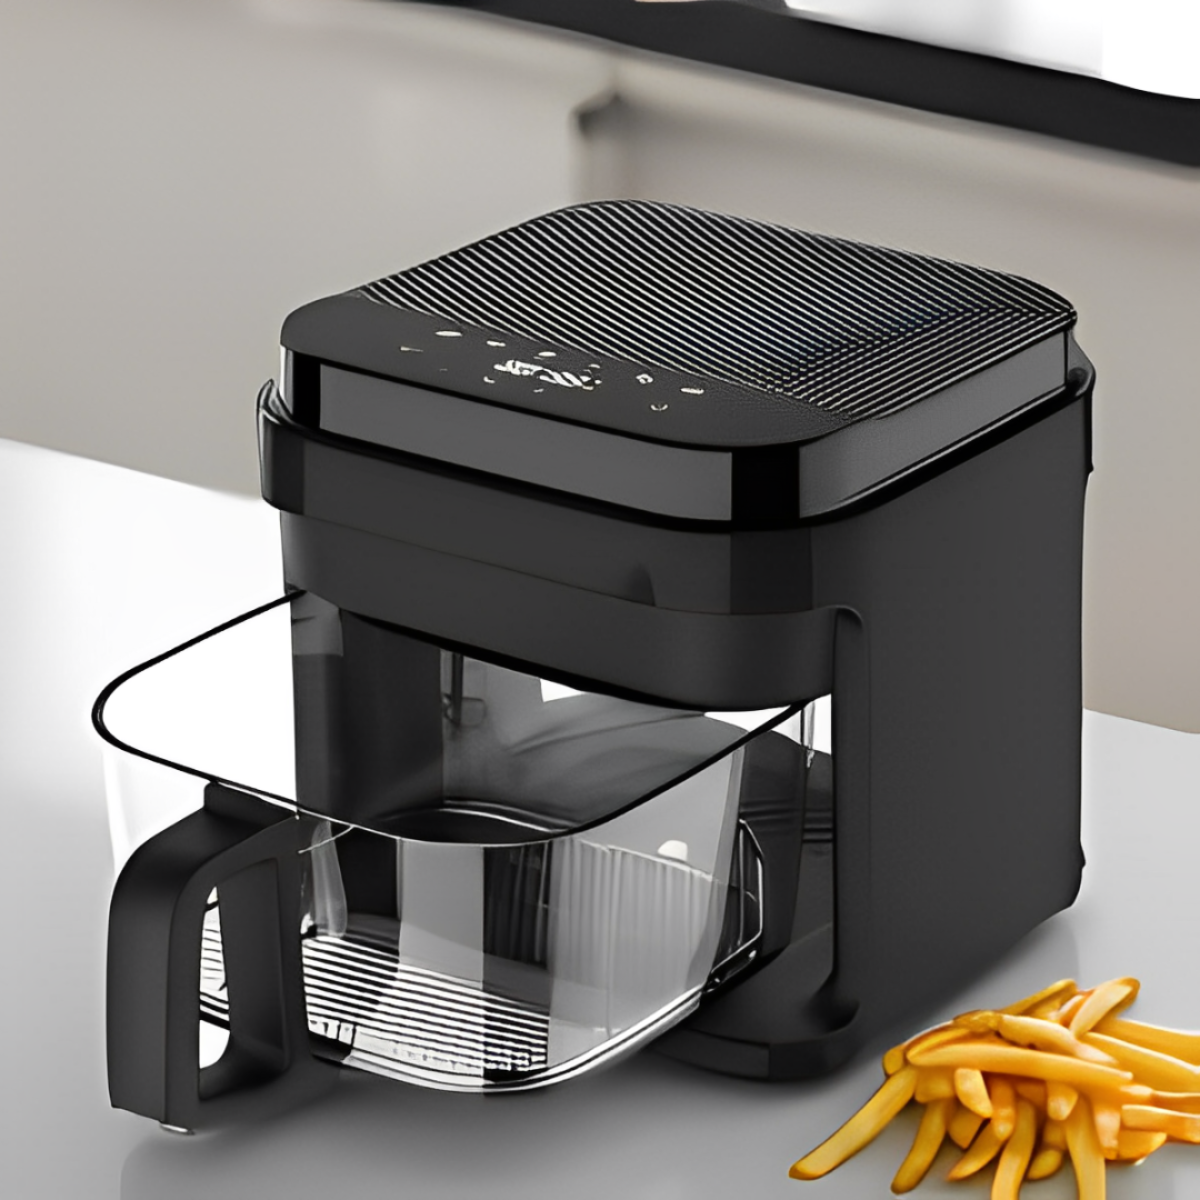
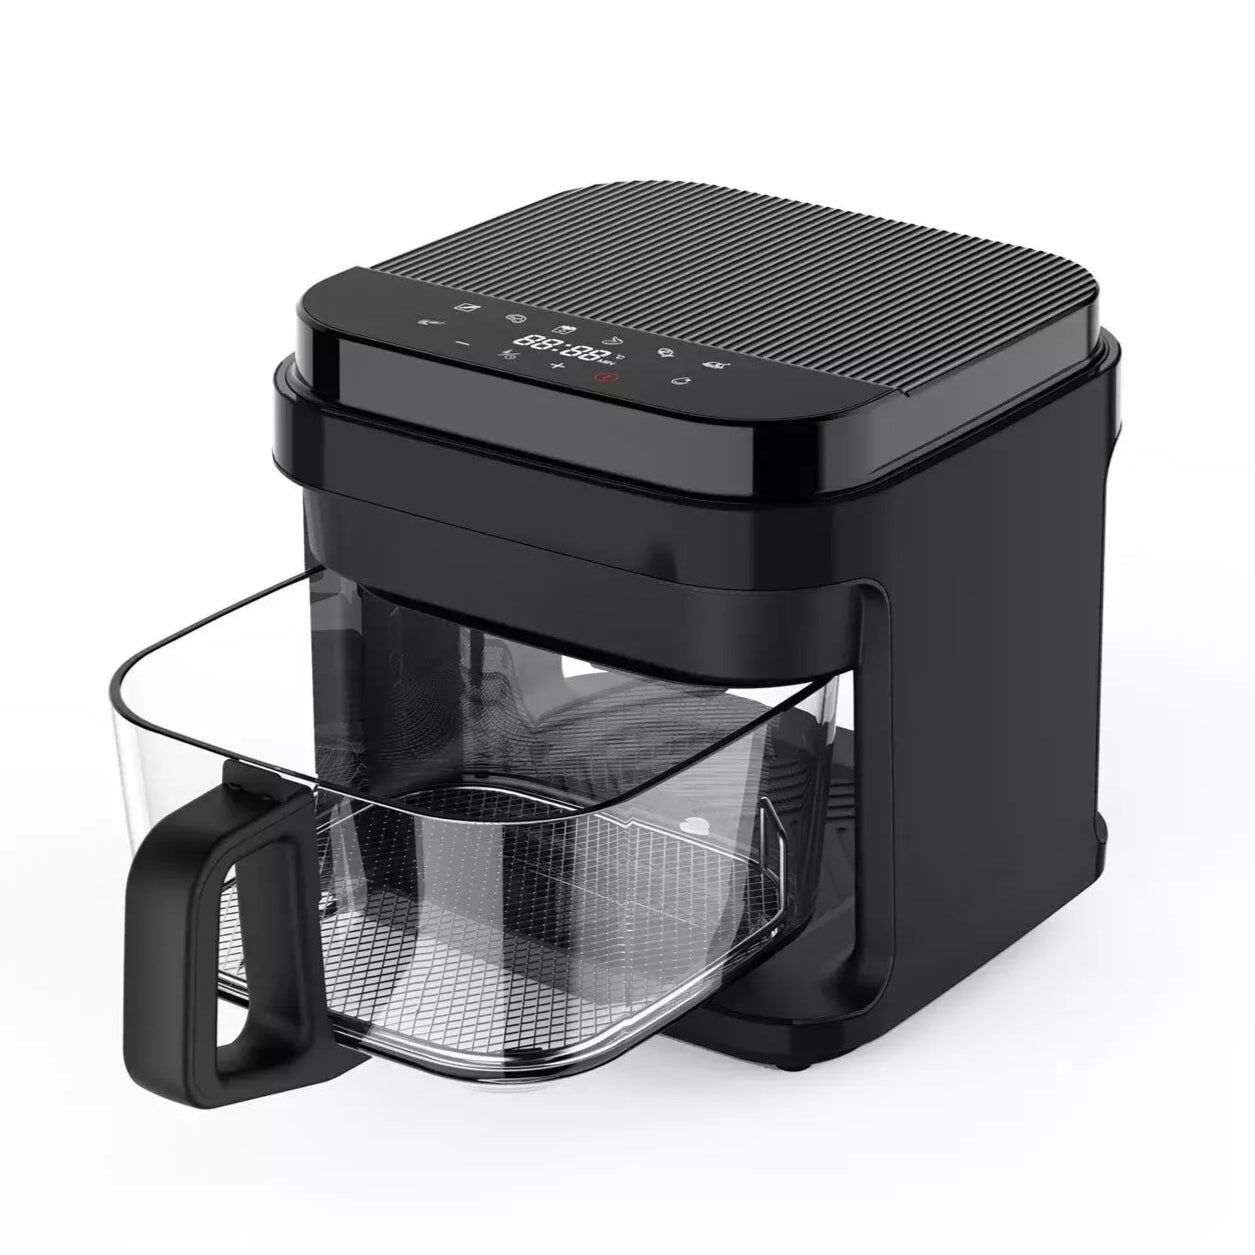
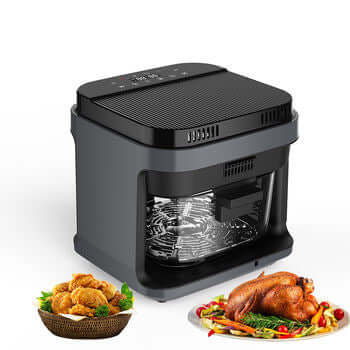
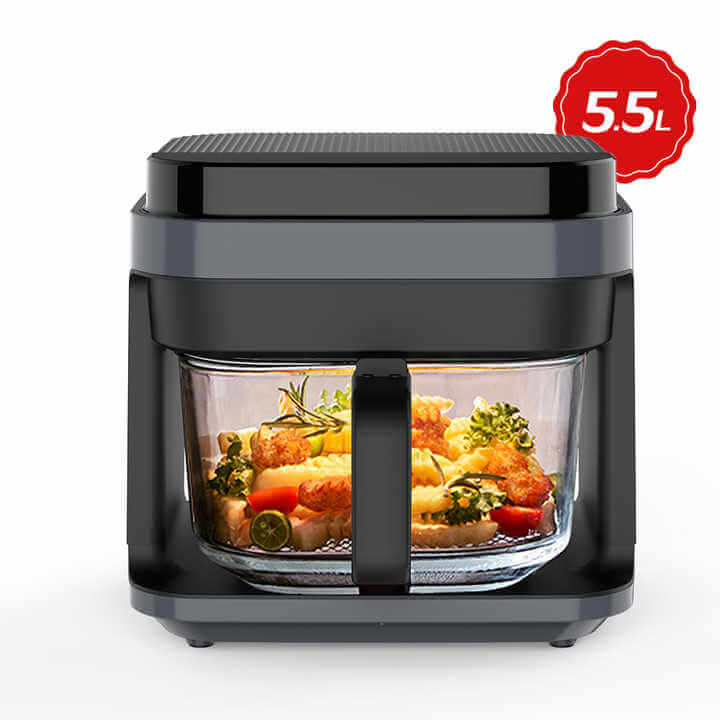
Proper maintenance is essential for getting the most out of your glass air fryer investment. Unlike traditional air fryers with non-stick coatings that degrade over time, glass air fryers like the Terra Wellness 5.5L Glass Air Fryer can last for decades with proper care. This comprehensive maintenance guide will help you keep your glass air fryer in perfect condition, ensuring optimal performance, food safety, and longevity.
Glass air fryers require specific care techniques that differ from traditional models. The good news is that glass is naturally easier to maintain than synthetic coatings, and with the right approach, your glass air fryer will continue to perform like new for years to come. This guide covers everything from daily cleaning routines to troubleshooting common issues and maximizing the lifespan of your investment.
Understanding Glass Air Fryer Construction
Before diving into maintenance procedures, it's important to understand the unique construction of glass air fryers and how this affects care requirements.
Borosilicate Glass Properties
Most quality glass air fryers, including the Terra Wellness model, use borosilicate glass for the cooking chamber. This specialized glass has unique properties that affect how you should care for it:
Thermal Shock Resistance:
•Can handle rapid temperature changes better than regular glass
•Resistant to cracking from temperature variations
•Maintains structural integrity under cooking stress
•Won't react with acidic or alkaline foods
•Doesn't absorb odors, flavors, or stains
•Naturally antimicrobial surface
Durability Characteristics:
•Harder than regular glass but can still chip if dropped
•Scratch-resistant but not scratch-proof
•Long-lasting with proper care
Component Breakdown
Understanding each component helps you maintain them properly:
•Requires gentle but thorough cleaning
•Most critical component for food safety
•Usually located in the lid or base
•Require regular inspection and cleaning
•Critical for even heat distribution
•Fans and vents that circulate hot air
•Need regular cleaning to maintain efficiency
•Can accumulate grease and food particles
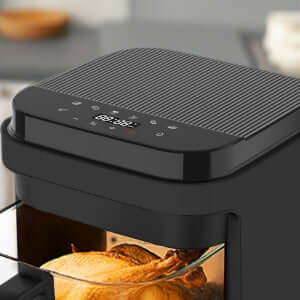
•Digital displays and control panels
•Require gentle cleaning to avoid damage
•Important for precise temperature and timing control
Daily Maintenance Routine
Establishing a daily maintenance routine is the key to keeping your glass air fryer in optimal condition.
Post-Cooking Cleanup
Immediate Steps (While Still Warm):
1.Turn Off and Unplug: Always disconnect power before cleaning
2.Remove Food Immediately: Don't let food sit in the chamber
3.Initial Wipe Down: Use a damp cloth to remove surface residue while warm
4.Open for Air Circulation: Allow steam and moisture to escape
•Allow the air fryer to cool for 10-15 minutes
•Don't immerse hot glass in cold water (thermal shock risk)
•Remove the glass chamber once it's safe to handle
Proper Cleaning Technique
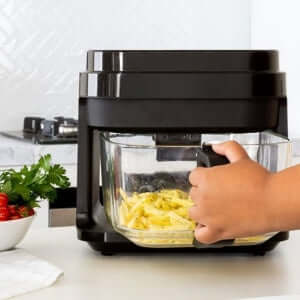
1.Remove the Chamber: Carefully lift out the glass cooking chamber
2.Rinse with Warm Water: Start with warm (not hot) water to remove loose debris
3.Apply Gentle Detergent: Use mild dish soap and a soft sponge
4.Scrub Gently: Work in circular motions to remove stuck-on food
5.Rinse Thoroughly: Ensure all soap residue is removed
6.Dry Completely: Use a lint-free cloth or air dry
1.Wipe Down Exterior: Use a damp cloth with mild detergent
2.Clean Control Panel: Use a slightly damp cloth, avoid excess moisture
3.Clean Air Vents: Use a soft brush to remove dust and debris
4.Inspect Heating Elements: Look for food buildup or damage
Drying and Storage
•Air dry completely before reassembling
•Use lint-free cloths to prevent scratching
•Ensure no water spots remain on glass surfaces
•Check that all components are completely dry
•Store in a clean, dry location
•Protect glass components from impact
•Ensure adequate ventilation around the unit
•Keep away from heat sources when not in use
Weekly Deep Cleaning
A weekly deep cleaning routine helps maintain optimal performance and extends the life of your glass air fryer.
Comprehensive Disassembly
1.Ensure Complete Cooling: Wait at least 30 minutes after use
2.Unplug the Unit: Always disconnect power before disassembly
3.Remove All Removable Parts: Glass chamber, racks, trays, and accessories
4.Document Assembly: Take photos if needed to remember reassembly
Deep Cleaning Process
1.Soak in Warm Soapy Water: 15-20 minutes for stubborn residue
2.Use Baking Soda Paste: For tough stains, make a paste with baking soda and water
3.Gentle Scrubbing: Use soft-bristled brushes for textured areas
4.Vinegar Rinse: For mineral deposits, rinse with diluted white vinegar
5.Final Rinse: Thorough rinse with clean water
Heating Element Maintenance:
1.Visual Inspection: Check for food buildup or damage
2.Gentle Cleaning: Use a soft brush to remove debris
3.Avoid Water Contact: Never immerse heating elements in water
4.Professional Service: Contact service if elements appear damaged
1.Remove Visible Debris: Use soft brushes or compressed air
2.Clean Fan Blades: Gently wipe with damp cloth if accessible
3.Clear Vents: Ensure all air passages are unobstructed
4.Check for Blockages: Remove any accumulated grease or food particles
Sanitization Process
1.Vinegar Solution: Mix equal parts water and white vinegar
2.Wipe All Surfaces: Use the solution on all cleanable surfaces
3.Steam Cleaning: Run empty at low temperature with vinegar solution
4.Final Rinse: Remove all vinegar residue with clean water
Monthly Maintenance Tasks
Monthly maintenance helps identify potential issues before they become problems.
Comprehensive Inspection
Glass Chamber Assessment:
•Check for chips, cracks, or stress marks
•Inspect for cloudiness or etching
•Verify smooth operation of removable components
•Test fit and alignment of all parts
•Inspect power cord for damage
•Test all control functions
•Verify temperature accuracy with external thermometer
•Check for unusual noises or vibrations
•Monitor cooking times and results
•Check for even heat distribution
•Assess air circulation effectiveness
•Note any changes in performance
Preventive Maintenance
Lubrication (if applicable):
•Check manufacturer guidelines for lubrication points
•Use only recommended lubricants
•Apply sparingly to moving parts
•Wipe away excess to prevent dust accumulation
•Verify temperature accuracy with oven thermometer
•Test timer functions for accuracy
•Check preset programs for proper operation
•Document any discrepancies for service
Troubleshooting Common Issues
Even with proper maintenance, issues can occasionally arise. Here's how to diagnose and resolve common problems.
Performance Issues
Uneven Cooking: Symptoms: Food cooks unevenly, hot spots, cold areas Causes: Blocked air vents, damaged heating elements, overcrowding Solutions:
•Clean all air vents thoroughly
•Check heating elements for damage
•Reduce food quantity per batch
•Ensure proper food placement
Longer Cooking Times: Symptoms: Food takes longer to cook than expected Causes: Reduced air circulation, heating element issues, temperature calibration Solutions:
•Deep clean air circulation system
•Check heating elements for buildup
•Calibrate temperature settings
•Contact service if problem persists
Poor Crisping Results: Symptoms: Food doesn't achieve desired crispiness Causes: Moisture buildup, insufficient air circulation, temperature issues Solutions:
•Ensure food is properly dried before cooking
•Don't overcrowd the cooking chamber
•Check and clean air vents
•Verify temperature accuracy
Glass-Specific Issues
Cloudiness or Etching: Symptoms: Glass appears cloudy or etched Causes: Hard water deposits, harsh cleaning products, normal wear Solutions:
•Use vinegar solution for mineral deposits
•Switch to gentler cleaning products
•Consider water softening if hard water is an issue
•Normal light etching is cosmetic only
Chips or Cracks: Symptoms: Visible damage to glass surfaces Causes: Impact damage, thermal shock, manufacturing defects Solutions:
•Stop using immediately if cracks are present
•Small chips may be acceptable if not growing
•Contact manufacturer for replacement options
•Never use damaged glass components
Staining or Discoloration: Symptoms: Glass appears stained or discolored Causes: Food residue, mineral deposits, oxidation Solutions:
•Use baking soda paste for organic stains
•Vinegar solution for mineral stains
•Lemon juice for oxidation stains
•Professional cleaning products if needed
Electrical Issues
Unit Won't Turn On: Symptoms: No power, no display, no response Causes: Power supply issues, control panel problems, safety interlocks Solutions:
•Check power connection and outlet
•Verify all components are properly assembled
•Check for tripped safety switches
•Contact service if problem persists
Temperature Control Problems: Symptoms: Incorrect temperatures, temperature fluctuations Causes: Sensor issues, control board problems, heating element problems Solutions:
•Calibrate temperature settings
•Check for obstructions around sensors
•Professional service may be required
Timer Malfunctions: Symptoms: Timer doesn't work correctly, incorrect timing Causes: Control board issues, software problems Solutions:
•Reset unit to factory settings
•Update firmware if available
•Use external timer as backup
•Contact manufacturer for support
Extending Lifespan and Maximizing Performance
Best Practices for Longevity
•Always handle glass components with care
•Use both hands when moving the cooking chamber
•Avoid sudden temperature changes
•Store safely when not in use
•Follow manufacturer guidelines for capacity
•Don't exceed maximum temperature settings
•Use appropriate cooking times
•Allow proper cooling between uses
•Use only manufacturer-approved accessories
•Replace worn accessories promptly
•Store accessories properly
•Inspect accessories regularly for damage
Performance Optimization
•Preheat when recommended
•Don't overcrowd the cooking chamber
•Use minimal oil for best results
•Shake or turn food as needed
•Use lowest effective temperature
•Monitor cooking progress visually
•Adjust timing rather than increasing temperature
•Allow proper preheating time
•Stick to regular cleaning routines
•Perform monthly inspections
•Keep maintenance records
When to Seek Professional Service
Warning Signs
•Electrical issues or sparking
•Cracked or damaged glass
•Overheating or temperature control problems
•Significant decline in cooking performance
•Persistent problems despite troubleshooting
•Unusual noises or vibrations
•Control system malfunctions
Finding Qualified Service
•Contact Terra Wellness for authorized service
•Use only manufacturer-approved parts
•Maintain warranty coverage
•Get professional diagnosis
•Find certified appliance repair services
•Verify experience with glass air fryers
•Check credentials and reviews
•Get written estimates for repairs
Seasonal Maintenance Considerations
Summer Maintenance
•Ensure adequate ventilation around unit
•Clean air vents more frequently
•Monitor for overheating in hot weather
•Consider usage timing during peak heat
•Use dehumidifier if necessary
•Check for moisture buildup
•Ensure complete drying after cleaning
Winter Maintenance
Temperature Considerations:
•Allow unit to reach room temperature before use
•Avoid extreme temperature changes
•Monitor for condensation issues
•Adjust cooking times for cold ingredients
•Protect from freezing temperatures
•Ensure dry storage environment
•Check for thermal stress from heating systems
•Maintain stable storage temperature
Conclusion: Maintaining Your Investment
Proper maintenance of your glass air fryer is essential for maximizing its performance, safety, and lifespan. The Terra Wellness 5.5L Glass Air Fryer, with its premium borosilicate glass construction, is designed to last for decades with proper care. By following the maintenance routines and troubleshooting guidelines in this guide, you'll ensure that your investment continues to provide safe, healthy cooking for your family.
Remember that glass air fryers are precision appliances that deserve careful attention. The time you invest in proper maintenance will be repaid many times over in terms of performance, safety, and longevity. Unlike traditional air fryers with coatings that inevitably degrade, your glass air fryer can maintain like-new performance indefinitely with proper care.
The key to successful maintenance is consistency. Establish daily, weekly, and monthly routines that become second nature. Address issues promptly before they become major problems. And most importantly, handle your glass air fryer with the care and respect that a precision cooking instrument deserves.
Your glass air fryer is more than just an appliance—it's a tool for healthy living and culinary excellence. With proper maintenance, it will serve your family faithfully for many years, providing safe, delicious meals while giving you the peace of mind that comes with chemical-free cooking.
Invest the time in proper maintenance, and your glass air fryer will reward you with years of outstanding performance and healthy, delicious meals for your family.
Use code BLOG20 for 20% OFF now.
FAQs About Glass Air Fryer Maintenance in Australia
Q1: What is the best way to clean a glass air fryer in Australia?
A: Wash the glass chamber with mild soap and warm water, gently clean vents with a brush, and avoid harsh cleaners for safe, long-term use.
Q2: How often should I deep clean my glass air fryer?
A: Perform a weekly deep clean—soak the chamber in soapy water, scrub gently with baking soda if needed, and inspect heating elements.
Q3: Can glass air fryers last longer than regular air fryers?
A: Yes. With proper care, glass air fryers like the Terra Wellness 5.5L model can last decades, unlike coated fryers that degrade.
Q4: How do I prevent cloudiness or stains in my glass air fryer?
A: Rinse with diluted vinegar for mineral buildup, use baking soda paste for food stains, and always dry thoroughly to avoid water spots.
Q5: Are glass air fryers safer for Australian homes?
A: Absolutely. They’re non-toxic, scratch-resistant, and chemical-free, making them a healthier, long-lasting choice for Aussie families.
For further information please refer to: