


Create Your Ideal Home Sauna
A home sauna blends thoughtful design, the right equipment and sensible safety steps to deliver regular heat therapy for relaxation, improved recovery and skin health. Many find that regular sauna use can support circulation, lower stress, and benefit the skin, so planning around space, power and ventilation gives the best results. This guide helps you pick the right approach for a small apartment or a larger home, walks through DIY setup for portable and kit-based systems, compares common kit types available, and outlines practical maintenance to keep your sauna performing well. You’ll find layout ideas, step-by-step tent assembly and electrical checks, buying criteria for sauna kits, and helpful notes on session length and accessories. If you’re weighing a compact, low-commitment option against a permanent build, this article lays out the trade-offs so you can match a sauna system to your space, budget and wellness goals.
Best Home Sauna Design Ideas for Your Space
Good design starts by clarifying how you’ll use the sauna—solo relaxation, group sessions or recovery-focused therapy—and matching that use to available floor space, ventilation capacity and nearby power. Choosing breathable finishes, safe flooring and clear airflow paths reduces moisture damage and improves comfort: cedar benches and a vapour barrier suit built rooms, while breathable tent fabrics and a frame that protects the floor work well for portable steam setups. Think about entrance placement, bench height and seat depth so circulation and posture stay comfortable, especially in compact layouts where bench depth might be reduced. Those choices affect heating efficiency and safety, and will help you decide whether a portable sauna tent or a dedicated kit is the better long-term fit. The next section breaks down material and layout details to help you balance durability with comfort.
Materials and Layouts That Optimise an Indoor Sauna Room
For built indoor saunas, softwoods such as cedar or hemlock are preferred because they resist heat-driven movement and feel comfortable to the touch. A vapour barrier and insulation behind the walls preserve heat and protect the structure. Bench depth commonly sits between 400–600 mm to support both sitting and reclining; spacing between bench levels should encourage good convective mixing while keeping headroom safe. Use non-slip, water-resistant flooring in wet entry zones to prevent slips. For portable steam tents, pick durable, breathable fabrics with reinforced seams and a lightweight frame to reduce condensation and make storage easier; add a rubber mat or similar protection to shield carpets or wooden floors. These materials and layout choices guide where to place vents and heaters, which we cover in the next section on selecting portable versus traditional saunas.
If you’re planning a bespoke or permanent installation, careful material selection and thoughtful detailing are essential for both appearance and performance.
Custom infrared sauna design & material selection
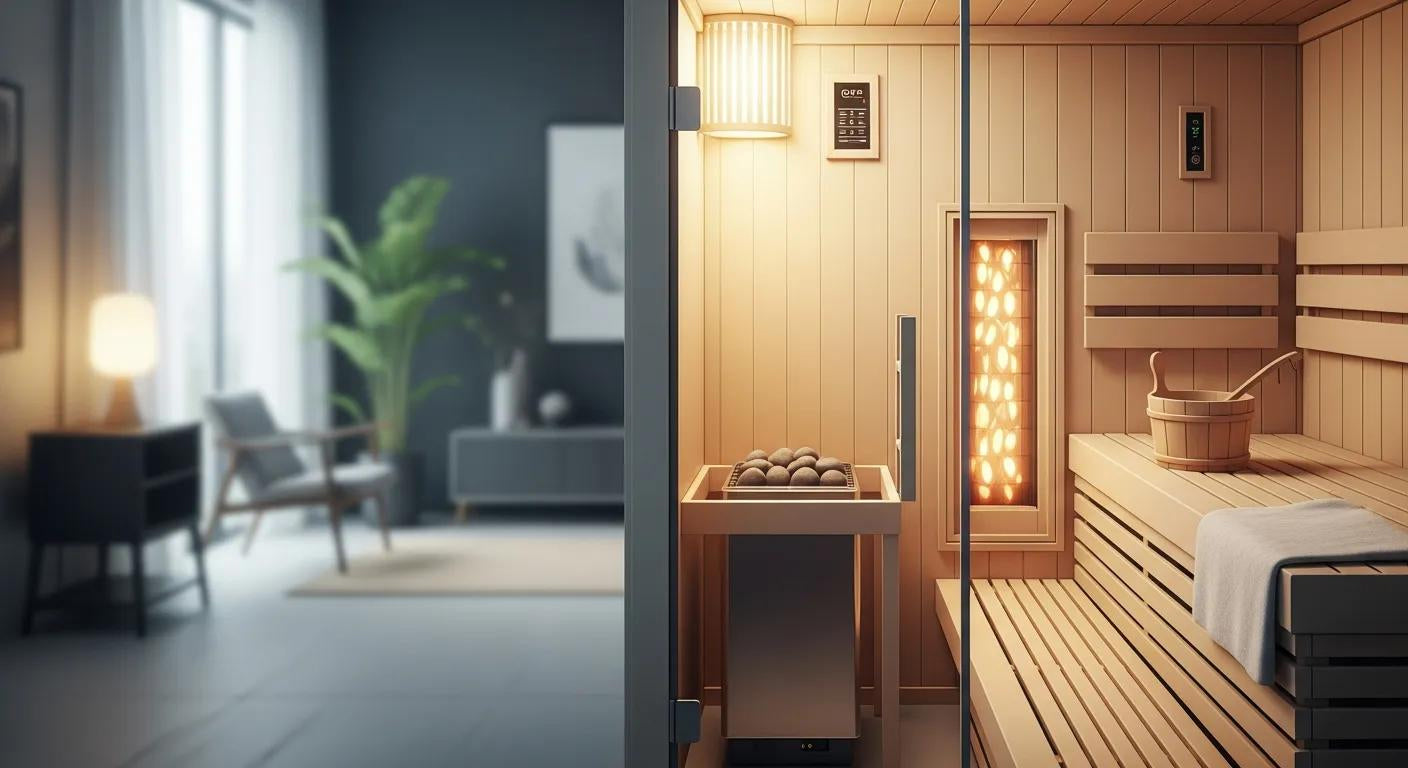
Working closely with owners, we design infrared saunas to fit new spaces and deliver a premium user experience. In one project we used Clear Western Red Cedar, installed inside-and-out wall controllers, under-bench strip lighting and reading lights, and fitted a cut-to-measure glass door with brushed chrome hardware. Heaters were positioned for even, gradual warmth that encourages sweating and comfortable heat exposure. Once the design is approved, we can ship quality materials for local installation by a carpenter and electrician, or arrange further support as needed.
Choosing Between Portable Sauna Tents and Traditional Saunas
Your choice comes down to permanence, budget, heat style and installation complexity. Portable tents are a low-commitment and quick-to-deploy option; traditional electric or infrared kits offer greater durability, more seating and faster heat retention. Portable steam tents suit renters and small-space users who need easy storage, while built-in rooms or modular wood kits suit homeowners wanting long-term installations with higher finish quality. Infrared kits use radiant panels that warm the body directly without saturating the room with moisture, which helps where ventilation is limited. Consider priorities—portability, session frequency, heat preference and whether you can upgrade electrical supply—to select the best fit. The next section explains safe DIY installation steps for portable tents and basic sauna kits.
If you prefer a plug-and-play option, we offer portable Home Sauna Tents designed for small spaces and rental situations, providing a convenient way to enjoy heat therapy at home, framed around practical natural-health solutions.
DIY Sauna Installation: Safe, Efficient Setup
A safe DIY installation starts with careful site selection, the right tools and strict adherence to electrical and ventilation guidance, plus a test before first use to confirm heaters and steam generators run safely. Choose a flat, heat-resistant surface near a suitably rated outlet and at least one clear ventilation path. Confirm your space supports the heater type you plan to use and keep combustibles away from heat elements. Assemble components in the manufacturer’s recommended order, tighten frame connections, route cables safely and add any required vapour barriers for built rooms; then run an initial heat-up and inspect for hotspots, leaks or unusual smells. This approach reduces common issues and signals when professional help is needed—particularly for hardwired heaters or fixed ducting. Below is a concise step-by-step checklist for portable sauna tents, designed for quick reference.
- Prepare the site: clear the floor, protect underlying surfaces and locate the unit near a correctly rated power source.
- Unpack and inspect all parts for damage; confirm heater and steam-generator components match the manual.
- Assemble the frame and fabric enclosure in the manufacturer’s sequence, securing anchors and zippers firmly.
- Install the heater/steam generator on a non-combustible platform, route cords away from walkways, and attach ventilation flaps as provided.
- Run a controlled test: pre-heat briefly to check for even warming, monitor for odours, and confirm steady air exchange through vents.
- Finish the setup by adding seating or a stool, placing non-slip mats, and setting timers or thermostatic controls before your first session.
This checklist offers a quick installation roadmap; the next section covers tent-specific assembly tips and common pitfalls to watch for.
Step-by-Step: Installing a Home Sauna Tent
Unbox and check every part straight away so missing or damaged items are identified before you start. Assemble the base frame first, following labelled parts and the manufacturer's diagram, then attach the fabric shell smoothly to avoid pinched seams; make sure zippers and fastenings leave the enclosure taut and stable. Mount the heater or steam generator on its non-combustible bracket, route the power cable through the designated port, and keep the unit at a safe distance from fabric walls specified in the manual. Start with a low-temperature test run while watching for unusual smells or smoke—if anything looks off, power down immediately and re-check connections. After a successful test, add seating and a timer, and plan conservative first sessions to confirm comfort and ventilation.
Electrical and Ventilation Requirements to Consider
Electrical needs depend on heater type: small plug-and-play steam tents often run on standard household circuits, but always check the wattage and outlet rating. Larger infrared kits or fixed electric heaters may require dedicated circuits and professional installation. Never use extension cords for high-draw devices; consult a qualified electrician when amperage or wiring upgrades are required. For ventilation, provide at least one adjustable inlet and outlet for passive air exchange—this prevents excessive humidity and reduces condensation that can damage tent fabric or built-room finishes. Use moisture-control measures such as dehumidification between sessions and allow components to dry fully before storage. If you’re unsure about electrical or ventilation adequacy, get a licensed tradesperson to inspect the installation. For an easy-to-install alternative, consider our portable Home Sauna Tent — setup guidance follows.
Best Home Sauna Kits — How to Choose
Selecting a home sauna kit means matching heater technology, size and installation complexity to your space and how often you’ll use it. Build materials and after-sales support are key quality signals. Infrared kits warm quickly and often use less floor space; electric wood-lined kits deliver a traditional sauna experience but usually demand more installation work; portable steam tents prioritise mobility and fast setup. If you expect daily heavy use, choose sturdier materials and consider the support available; occasional users may prioritise ease of use and portability. The table below compares portable tents, infrared kits and traditional electric kits across core attributes to help your choice.
| Type | Power Source / Typical Wattage | Installation Complexity |
|---|---|---|
| Portable Steam Sauna Tent | Plug-in steam generator (~800–1500 W) | Low (self-assembly) |
| Infrared Home Sauna Kit | Infrared panels (~1000–3000 W) | Moderate (wall mounting) |
| Traditional Electric Sauna Kit | Electric heater (2–9 kW) | High (requires electrical work & ventilation) |
Features That Differentiate Top Home Sauna Kits
Key differences are heater technology (infrared panels, steam generators or resistive electric heaters), control options (simple knobs versus digital thermostats and app integration), build materials (solid softwood vs composite panels) and included extras (benches, lighting, sensors). Infrared systems use radiant heat that warms the body at lower ambient temperatures and can be energy-efficient for targeted use; steam systems raise humidity and perceived heat, which some users prefer for sweating and relaxation. Control interfaces affect ease of use—mechanical knobs are robust, while digital controls and timers add repeatability and safety. The availability of replacement parts and manufacturer support is a practical indicator of long-term value. Use these factors alongside your usage goals and property constraints to pick the right kit. The next section explains how to evaluate quality signals when buying.
Evaluating Sauna Kit Quality and Support Options
When considering a kit, it's a good idea to look for clear information on what's included for heater elements, structural panels and electrical components. Also, understand what might not be covered, such as wear-and-tear or issues from incorrect installation. Good after-sales support suggests the manufacturer stands behind the product. On delivery, inspect the parts and complete a test run within the seller’s specified period, documenting any problems with photos and order details. Confirm that replacement parts are available locally or can be shipped reliably to minimise downtime. These checks reduce purchase risk and help the kit perform as expected; after purchase, a consistent maintenance routine extends useful life, which we cover below.
Within this selection framework, our Home Sauna Tent is a popular portable option for small spaces and rentals, emphasising simple installation and reliable support—consider these aspects alongside local parts availability when comparing offers.
Key Benefits of Using a Portable Sauna Tent at Home
A portable sauna tent delivers focused heat exposure that supports circulation, relaxation and sweat-mediated cleansing of skin surfaces, and is easier to store than built-in saunas. Its convenience encourages frequent short sessions that can help sleep onset and reduce perceived stress, and the compact footprint makes heat therapy accessible in apartments or spare rooms where permanent changes aren’t possible. Different sauna types offer distinct benefits—steam tents raise humidity for stronger sweating, infrared tents provide radiant heat for deep-warmth recovery, and hybrid kits aim to combine both for a balanced experience. The table below maps common sauna types to core benefits and practical session guidance.
| Sauna Type | Key Benefit | Recommended Session Length / Frequency |
|---|---|---|
| Portable Steam Sauna Tent | Promotes heavy sweating and skin cleansing | 15–25 minutes, 2–4× weekly |
| Infrared Sauna Tent | Deep tissue warmth, recovery and circulation | 20–30 minutes, 3–5× weekly |
| Hybrid / Kit-based Saunas | Combined relaxation and recovery benefits | 15–30 minutes, 3× weekly |
How a Portable Sauna Tent Supports Relaxation and Recovery
Portable sauna tents encourage sweating through heat exposure, which increases skin blood flow and can trigger cellular heat-shock responses linked to tissue repair. Sweating helps remove some water-soluble surface compounds, and increased circulation supports muscle recovery and reduces peripheral tension. Many users find benefits in relaxation, circulation and recovery. For safety, begin with shorter sessions (10–15 minutes) and gradually extend to manufacturer-recommended durations. Stay well hydrated and avoid prolonged exposure if you have cardiovascular or temperature-regulation concerns. Modest, regular sessions are the safest way to gain measurable relaxation and recovery benefits without extreme exposure.
What Accessories Maximise Your Portable Sauna Experience?
The right accessories improve comfort, safety and effectiveness. Consider a compact stool for upright sessions, absorbent towels or mats to protect the tent fabric and flooring, a reliable timer to limit exposure and an aromatherapy diffuser for ambience. Choose steam generators with simple controls and overheat protection for safety, and lightweight benches or folding stools to support posture during sessions. Recovery-focused users may prefer a cooling towel or an easily accessible water bottle for between-interval cooling. Match accessories to your tent’s size and heater type to enhance safety, comfort and longevity.
Maintain and Care for Your Home Sauna for Longevity
Routine maintenance preserves heater performance, prevents mould and extends the life of tents and kits by addressing fabric care, electrical checks, and wear before components fail. Set a schedule that includes airing after each session, weekly fabric wipe-downs with mild cleaner, monthly heater inspections for dust and corrosion, and seasonal deep-cleaning and correct storage if you use the unit intermittently. Proper maintenance reduces common issues—zipper wear, seam deterioration or heater faults—and keeps your sauna safe year-round. The table below links components to tasks and recommended frequencies.
| Component | Maintenance Task | Frequency / Notes |
|---|---|---|
| Tent Fabric & Seams | Wipe with mild detergent, air-dry fully | After each week of use, deep-clean quarterly |
| Heater / Steam Generator | Inspect for corrosion and dust; test controls | Monthly visual check; annual electrician check for hardwired units |
| Frame & Zippers | Tighten fastenings and lubricate zippers as needed | Monthly, inspect before storage |
Cleaning and Care Best Practices for Sauna Tents
Air the tent thoroughly after each session—zip doors open and leave the fabric exposed until fully dry to prevent mildew and odours. For routine cleaning, use a mild, non-bleach detergent diluted in warm water and a soft cloth for interior surfaces and seating; avoid abrasive cleaners that can damage coatings or seams. Treat stains and persistent odours with manufacturer-approved products and always allow full drying before reassembly or storage. For long-term storage, keep parts in a cool, dry spot away from sunlight and ensure metal frames are dry to prevent corrosion. Following these steps cuts repair needs and keeps the tent hygienic.
Troubleshooting Common Home Sauna Issues
Frequent problems include heaters not reaching temperature, excess condensation, zipper faults and poor airflow. Troubleshoot by isolating the symptom: check power supply and connections, confirm vents are unobstructed, and ensure controls are set correctly. If a heater won’t warm, verify circuit capacity, fuses and visible damage; excessive condensation usually means limited ventilation or overuse beyond recommended session lengths. Zipper or seam issues may be temporarily managed by careful realignment and fabric-safe lubricant, but persistent mechanical damage needs replacement parts. For unresolved electrical problems or structural failures, contact the seller or a licensed technician to avoid safety risks.
For product examples, while comparing kits and tents, our Home Sauna Tent highlights portability and straightforward installation. When comparing offers, consider the support available and local parts availability to ensure prompt assistance if issues arise.
For commercial fit-outs or bespoke sauna rooms that go beyond portable or kit solutions, contact us to discuss consultations and custom project support.